Hi all, I want to share this think with you. Cisco crazy people I don know how they are practicing. Some one may still use lazy boson simulator and some one may use cisco packet tracer. When compared to them the “DYNAMIPS “emulator completely differs.
The cisco packet tracer or Boson is just simulators. I want to introduce a new concept called “Emulation “. This is actually like running a virtual machine by using Vmware workstation or Sun V Box.

GNS3 is an excellent complementary tool to real labs for network engineers, administrators and people wanting to pass certifications such as CCNA, CCNP, CCIP, CCIE, JNCIA, JNCIS, JNCIE.
It can also be used to experiment features of Cisco IOS, Juniper JunOS or to check configurations that need to be deployed later on real routers.
Previously DYNAMIPS was introduced as a text line simulator; you cannot create topologies as like you are doing in Boson or packet tracer. You should have to edit topology files as you are doing in Linux configurations. Then GNS3 was introduced. Both dynamips and GNS3 are open source products and free for every one.
The GNS3 and DYNAMIPS combination gives as unique features such as you can run any service in your emulation based on the IOS you are using. For example if you are using 1841 IP base IOS then you can not configure IPSEC and other cryptographic services and if you are using 1841 advanced security IOS then you can configure IPSEC. So the real IOS is loaded in the dynamips Hypervisor and this makes your computer to run many virtual routers connected to each other based on how you design your topology.
Installing GNS3
Installing GNS3 is very easy. Download GNS3 with dynamips and QEMU from the below link for windows XP or windows 7.
Also Find the Download page http://www.gns3.net/download
Once downloaded and Installed follow the below steps to configure.
Configuring GNS3
Once installed launch GNS3 from the desktop icon. Cancel initial configurations if any GNS3 asks. Follow the below steps to configure manually.
Step 1 : Click Edit and select preferences
Step 2 : In the newly opened window select ‘ Dynamips ‘ option and click test button leaving other things default
Step 3 : If you get a message like “ Dynamips Successfully started “ the there is no issue with your ports.
Step 4 : Click Apply and OK
Step 5 : Again Select Edit and take IOS images and Hypervisor Manager
Step 6 : In the newly opened window select a plat form and select a router model (Eg: Platform : 3700, Model : 3725 and select appropriate IOS image file, I mean you should have IOS for 3700 plat form saved in a local folder and you should set path for it and click save button. Follow same method and add IOS for what ever platform and model you want.
Step 7 : Now in the GUI, drag and drop routers connect their serial port start them and on each router right click and select console to take them in console.
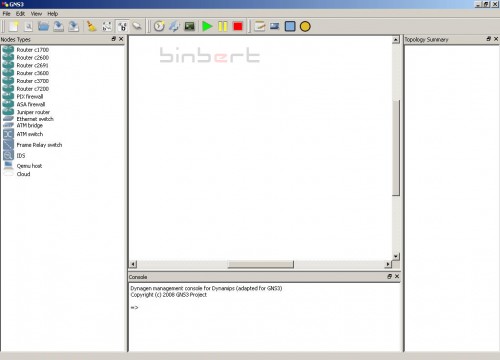
There are many tricks and techniques are there to make dynamips to be available to the external computers. First practice this basically. I will be make posting on other advanced techniques of GNS3 in next posts. Please go through the below images how GNS3 actually look like.
GUI Dash Board
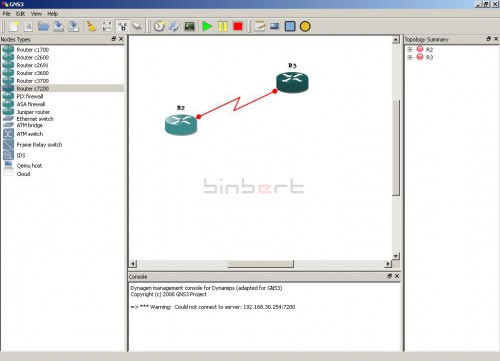
Topology scenario – 3600 and 7200 connected using serial cable
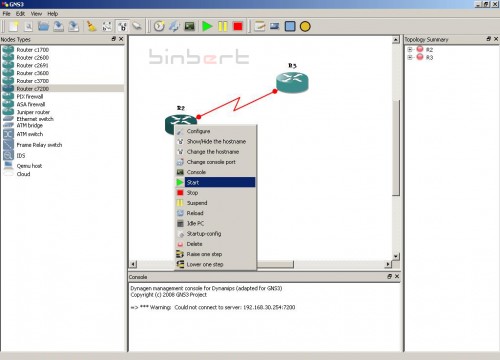
How to start the Router
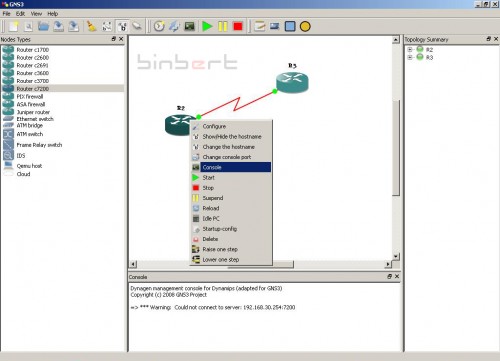
How to take the router console
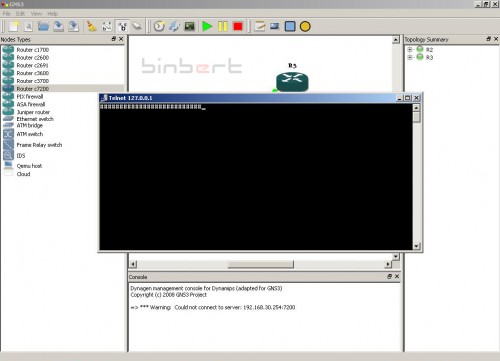
Router Console Opened – Booting Now
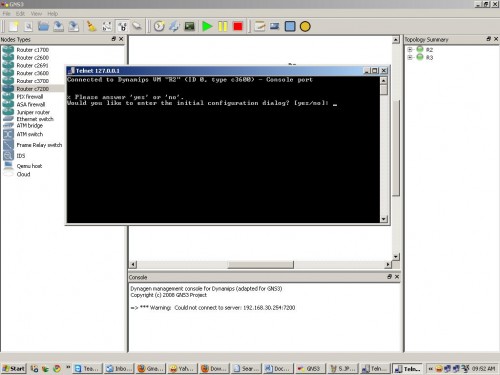
3600 Router ready to work
 Binbert Technology | Computer | Security | Networking | Mobile
Thanks… It is very useful.
Hi
I am trying to install it.
Very useful info.
Thanks.
Kind Regards,
Rajesh
I am working with cisco router 1841 CCNA is it possible to emulate the 1841 router on GSN3 I try but i can t find the way it s not in the node type windows